FTDI USB Relay Board
A while back I wrote a post about using an FTDI breakout board as a GPIO board from Python. Since then, I have discovered that there are USB relay boards based on this concept available from China. SainSmart seem to sell them, but they are available on ebay, Banggood and Aliexpress. The boards are interesting as they do not contain a microcontroller – just an FTDI chip and an ULN2803 array of Darlington pairs to drive the relay coils.
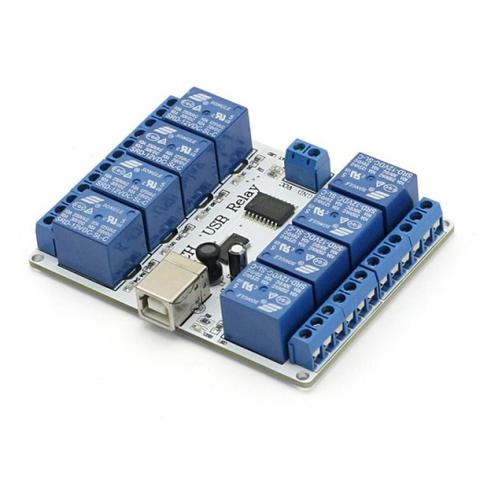
SainSmart 8 Channel USB Relay Board
Using the setup previously detailed in my other post, it is possible to control one of these boards from Linux. The process is exactly the same as using one of the little red USB UART adapter boards.
To use one of these boards from Linux :
- Follow the process to set up your computer as per my old post.
- Plug the board into a 12v DC supply, and your computer’s USB.
- Run the following example (as root / with sudo if you haven’t set up permissions for your user to access the device).
#!/usr/bin/env python

import os
import sys
import ftdi1 as ftdi
import time

ftdic = ftdi.new()
if ftdic ==0:
	print( 'new failed: %d', ret )
	os._exit( 1 )

# try to list ftdi devices 0x6010 or 0x6001
ret, devlist = ftdi.usb_find_all( ftdic, 0x0403, 0x6010 )
if ret <= 0:
    ret, devlist = ftdi.usb_find_all( ftdic, 0x0403, 0x6001)

if ret < 0:
    print( 'ftdi_usb_find_all failed: %d (%s)' % ( ret, ftdi.get_error_string( ftdic ) ) )
    os._exit( 1 )
print( 'Number of FTDI devices found: %d\n' % ret )
curnode = devlist
i = 0
while( curnode != None ):
    ret, manufacturer, description, serial = ftdi.usb_get_strings( ftdic, curnode.dev )
    if ret < 0:
        print( 'ftdi_usb_get_strings failed: %d (%s)' % ( ret, ftdi.get_error_string( ftdic ) ) )
        os._exit( 1 )
    print( 'Device #%d: manufacturer="%s" description="%s" serial="%s"\n' % ( i, manufacturer, description, serial ) )
    curnode = curnode.next
    i += 1

# open usb
ret = ftdi.usb_open( ftdic, 0x0403, 0x6001 )
if ret < 0:
    print( 'unable to open ftdi device: %d (%s)' % ( ret, ftdi.get_error_string( ftdic ) ) )
    os._exit( 1 )


# bitbang
ret = ftdi.set_bitmode( ftdic, 0xff, ftdi.BITMODE_BITBANG )
if ret < 0:
    print( 'Cannot enable bitbang' )
    os._exit( 1 )

for i in range( 8 ):
    val = 2**i
    #print( 'enabling bit #%d (0x%02x)' % (i, val) )
    ftdi.write_data( ftdic, chr(val), 1 )
    time.sleep ( 0.5 )

ftdi.write_data( ftdic, chr(0x00), 1)
time.sleep ( 0.2 )

ftdi.disable_bitbang( ftdic )
print( '' )


# close usb
ret = ftdi.usb_close( ftdic )
if ret < 0:
    print( 'unable to close ftdi device: %d (%s)' % ( ret, ftdi.get_error_string( ftdic ) ) )
    os._exit( 1 )

print ('device closed')
ftdi.free( ftdic )
This code is lightly modified from the code found here, without which I’d have struggled.
HID USB Relay Board
Similar boards exist which use an Atmel microcontroller interfacing with the computer through a software HID implementation. These boards are cheaper, but otherwise similar on the relay side and in appearance.
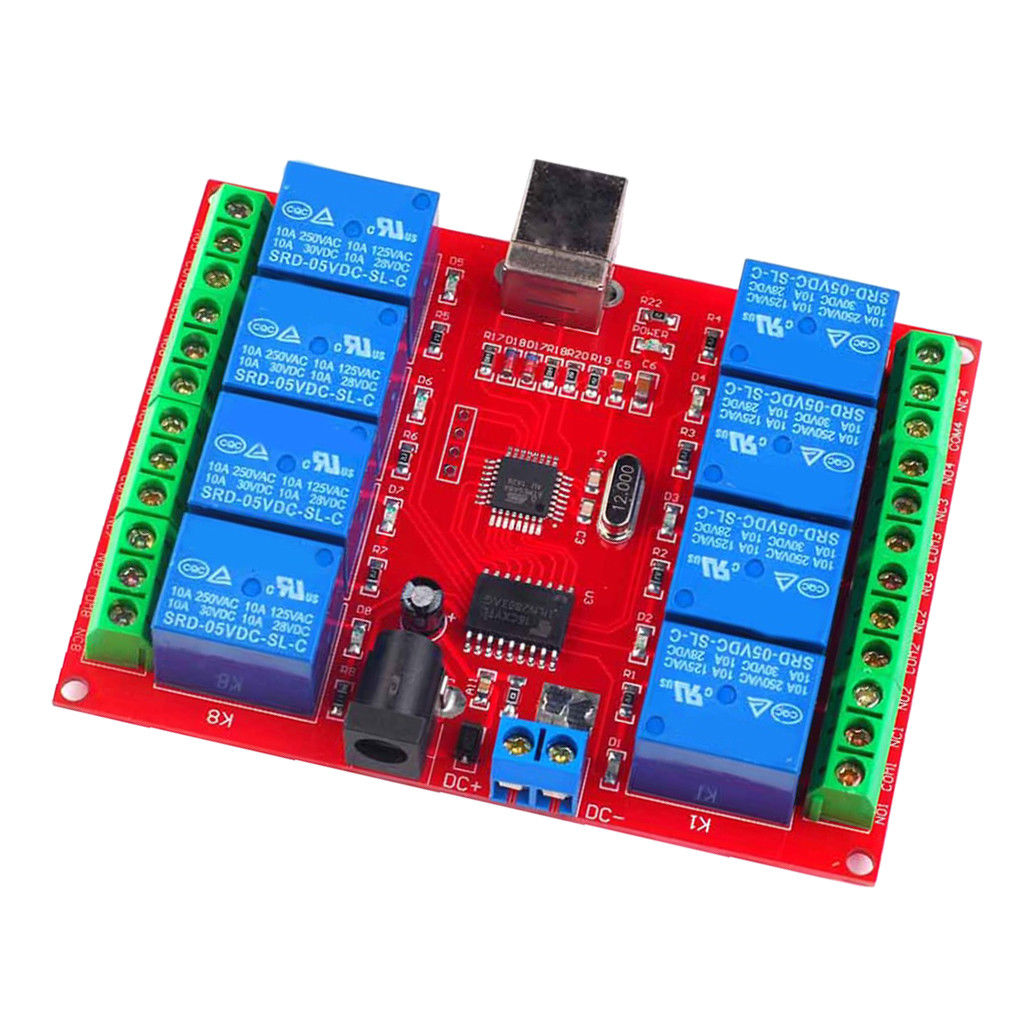
Red USB Relay Board
These boards can be controlled from Linux by installing the “usbrelay” program from the repository (on Ubuntu and Debian at least) using “sudo apt-get install usbrelay”. Otherwise the developer has a github page for the project here : https://github.com/darrylb123/usbrelay. Once installed and with the device connected, simply typing “sudo usbrelay” (without quote marks) at your command line reports back on connected devices. One of my devices calls itself “VXCMF”, while another calls itself “6QMBS”. Where a device is called “VXCMF”, the first two relays can be turned on with the following command “sudo usbrelay VXCMF_1=1 VXCMF_2=1” and off again with “sudo usbrelay VXCMF_1=0 VXCMF_2=0”.
If you want to use the boards without sudo, you’ll have to add it to /etc/udev/rules.d. There are detailed instructions on the github linked above, but in short, if you’re using a Debian family OS, put the following in a file called “50-usbrelay.rules” in the folder /etc/udev/rules.d :
SUBSYSTEM=="usb", ATTR{idVendor}=="16c0",ATTR{idProduct}=="05df", MODE="0666"
KERNEL=="hidraw*",  ATTRS{idVendor}=="16c0", ATTRS{idProduct}=="05df", MODE="0660", GROUP="plugdev", TAG+="systemd" ENV{SYSTEMD_WANTS}="usbrelayd.service"
KERNEL=="hidraw*",  ATTRS{idVendor}=="0519", ATTRS{idProduct}=="2018", MODE="0660", GROUP="plugdev", SYMLINK+="usbrelay%b"

SUBSYSTEM=="usb", ATTR{idVendor}=="5131",ATTR{idProduct}=="2007", MODE="0666"
KERNEL=="hidraw*",  ATTRS{idVendor}=="5131", ATTRS{idProduct}=="2007", MODE="0660", GROUP="plugdev", SYMLINK+="usbrelay%b"
Then make sure your user is in the plugdev group and restart. If you’re using Windows or macOS, there are other instructions in forks such as this one https://github.com/corerd/usbrelay, although it looks a little old.
Both boards detailed in this post are available with various numbers of relays. The red boards are probably easier to use as it is simply a case of installing usbrelay. Hopefully the instructions here and in my previous post can help people get their boards running. I haven’t tested, but both should work fine with a Raspberry Pi and many other SBCs.
Good luck!