The other day I got myself an UDOO x86 (specifically the penultimate “Advanced Plus” model). An interesting device that sits between most of the ARM SBCs and an older PC in performance. Steam games such as Bastion, Rogue Legacy and Super Meat Boy seem to work OK, Youtube plays fullscreen just fine although Steam game preview videos lag – watching processor usage I suspect that the graphics chipset (Intel 400) is not providing any acceleration in this context. I was not impressed by the fact that the quoted CPU frequencies are a misleading “Up to 2.24Ghz”, which really means, “2.24Ghz boost, 1.7Ghz operation” – I have not seen the board exceed 1.7Ghz while running Linux.
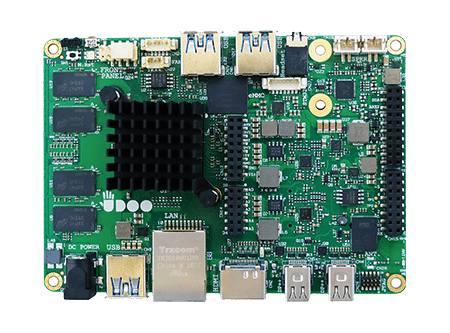
UDOO x86 Top
Another unusual feature of the board is that the built in eMMC shows up as an SD card. Probably unrelated, but I had more difficulty installing dual boot Linux on the internal eMMC and a plugged in M.2 drive than I ever have had on any machine – many of which weren’t even intended to run Linux! The main issue related to an error when installing GRUB
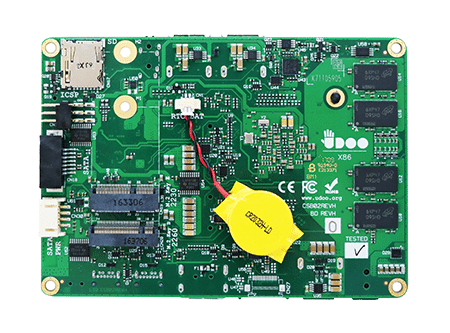
UDOO x86 Bottom
I spent a huge amount of time looking for a 2260 M.2 ssd (60mm length) and couldn’t find one in stock anywhere of a brand I’d trust. Suddenly I realised that the offset between the two sockets meant that a 2242 (42mm) board would fit in the top slot using the 30mm screw fitting for the lower slot (intentional I’m sure, but not obvious!). 42mm boards seem to be more common and so I was able to get a 64GB Transcend part.
I got the offered fan with my device, but it really isn’t needed. Getting the fan to start with the default settings is difficult as even at full processor usage (all cores) I wasn’t able to get the processor hot enough to need it. I poked the internet and found the instructions for the BIOS. There was a section that mentioned editing the default fan temperatures and speeds so I did a bit of a tweak. The fan now starts at a lower temperature, and runs at a lower speed.

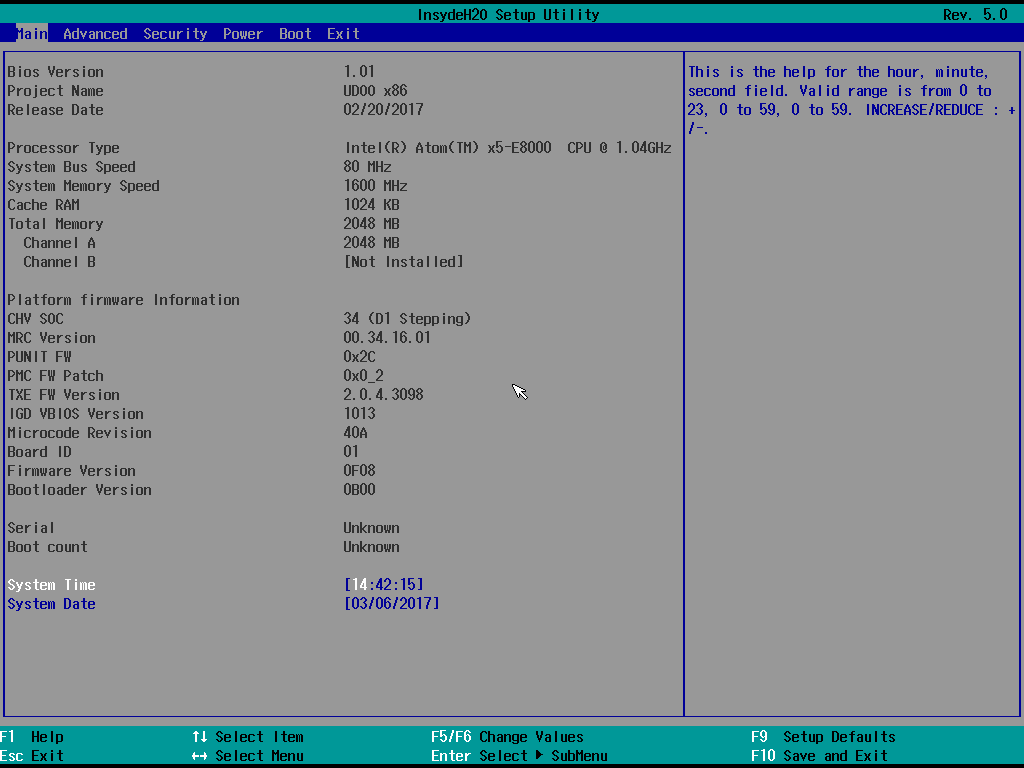
BIOS Top Level Menu
To change your fan settings, press escape as soon as the board powers on to get to the bios homescreen. Selecting the SCU option leads to a detailed settings page which looks like the following screen :
BIOS SCU Page
Selecting the “Power” section from the options at the top, you are presented with various options including one called “Thermal Zone Configuration”. As per page 54 / section 4.5.3 of the manual you can edit various settings, I’ve changed “AC1 Temperature” to 55°C and “FAN Duty Cycle (%) Above AC1” to 50%. This means the fan is nice and quiet when it does start.
I’ve yet to experiment with much on the board. I’m interested in having a look at the Arduino capabilities – care should be taken as next to the Arduino headers are some lower voltage (1.8v) pins for the main chipset. Wiring something into these accidentally would likely cause damage.
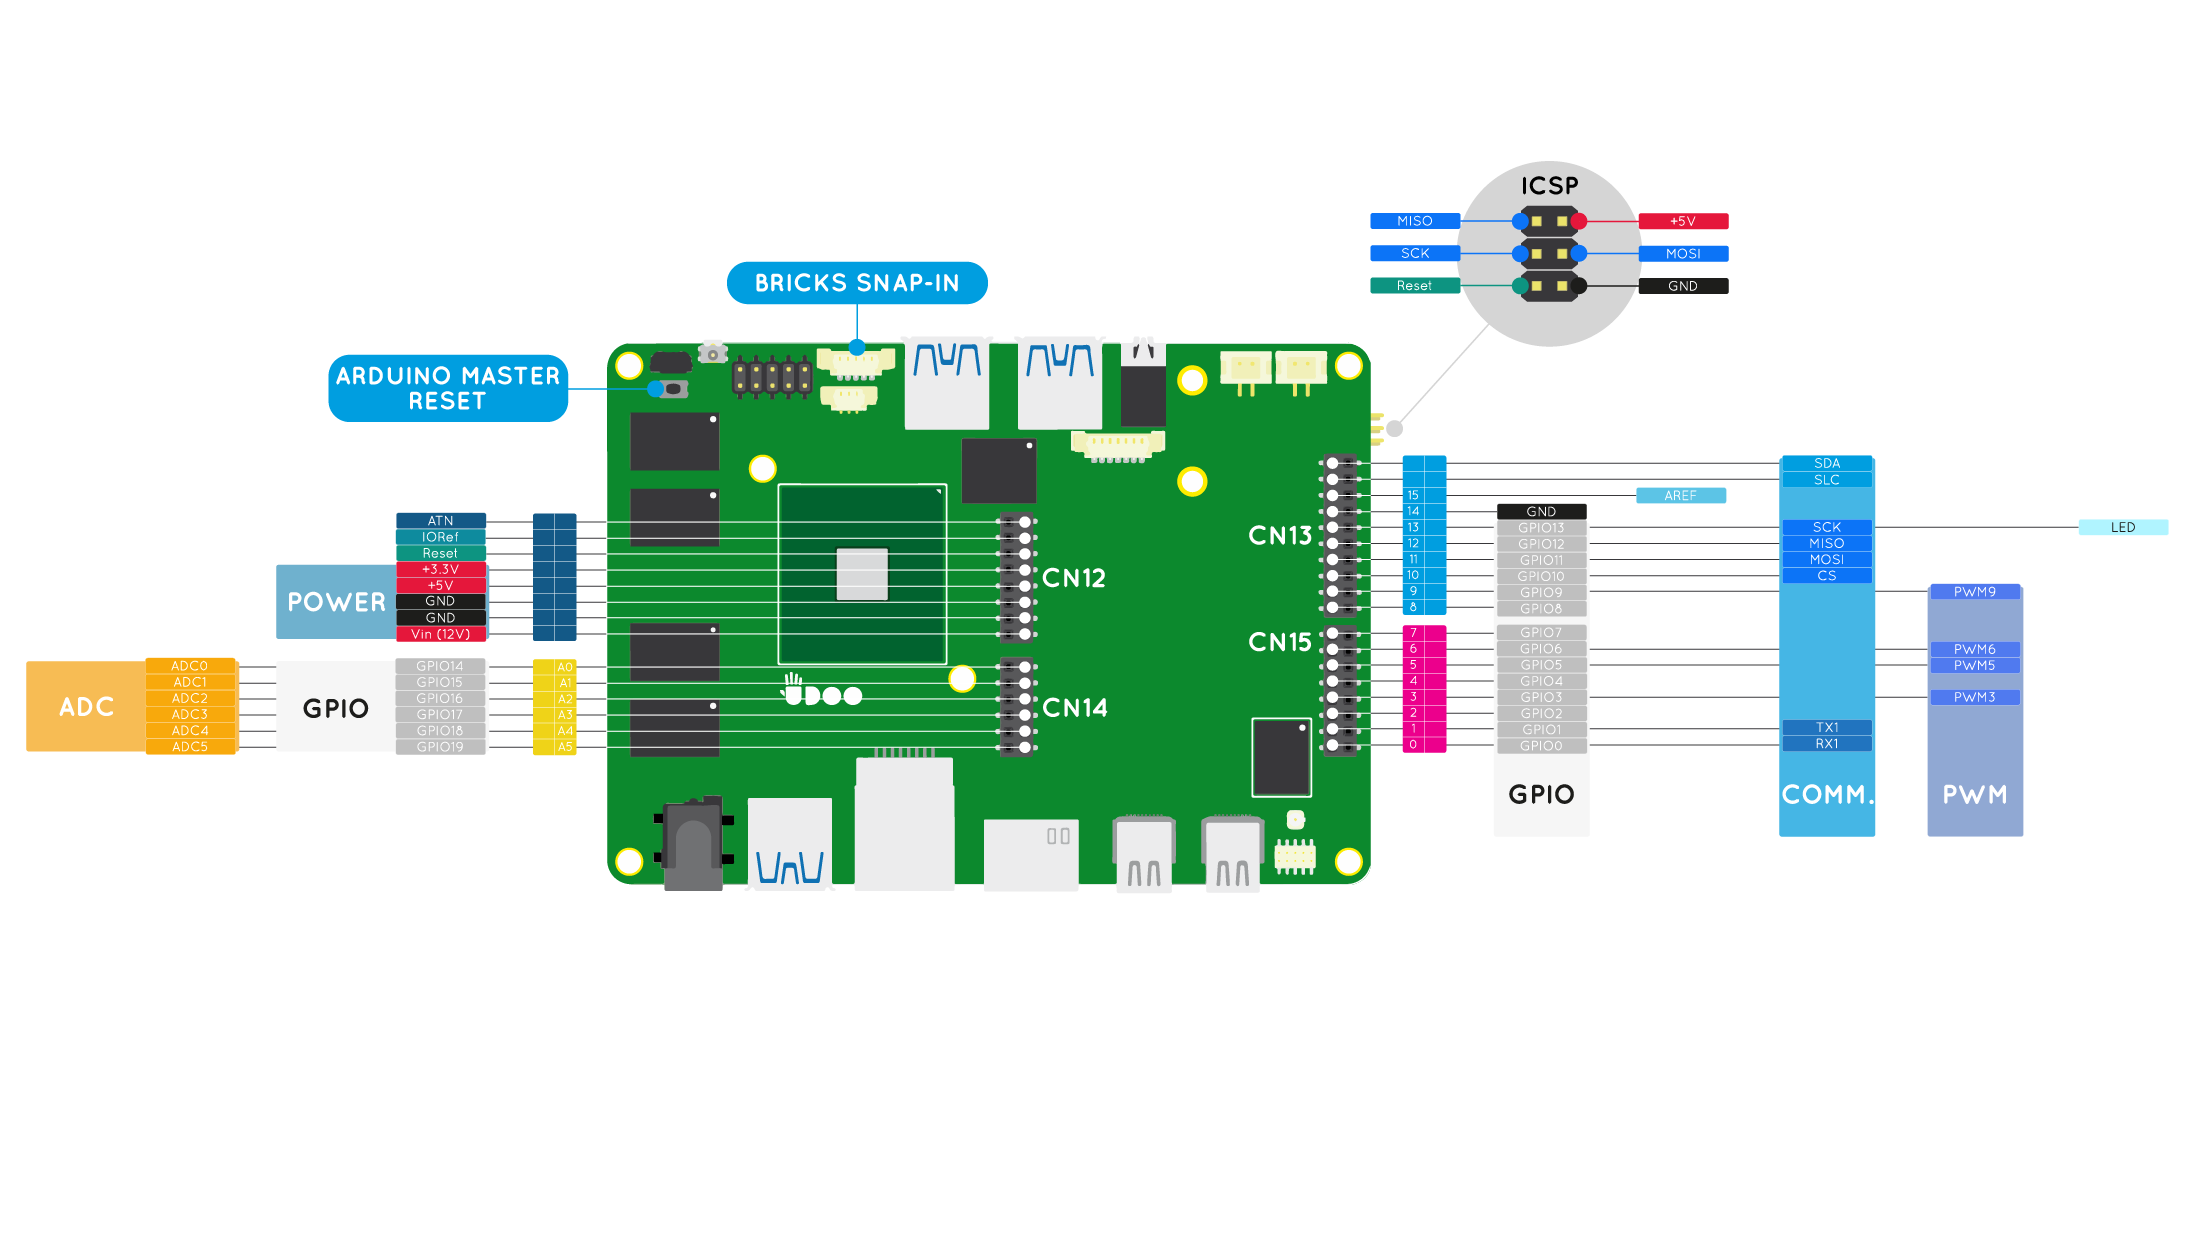
UDOO Arduino Pinout
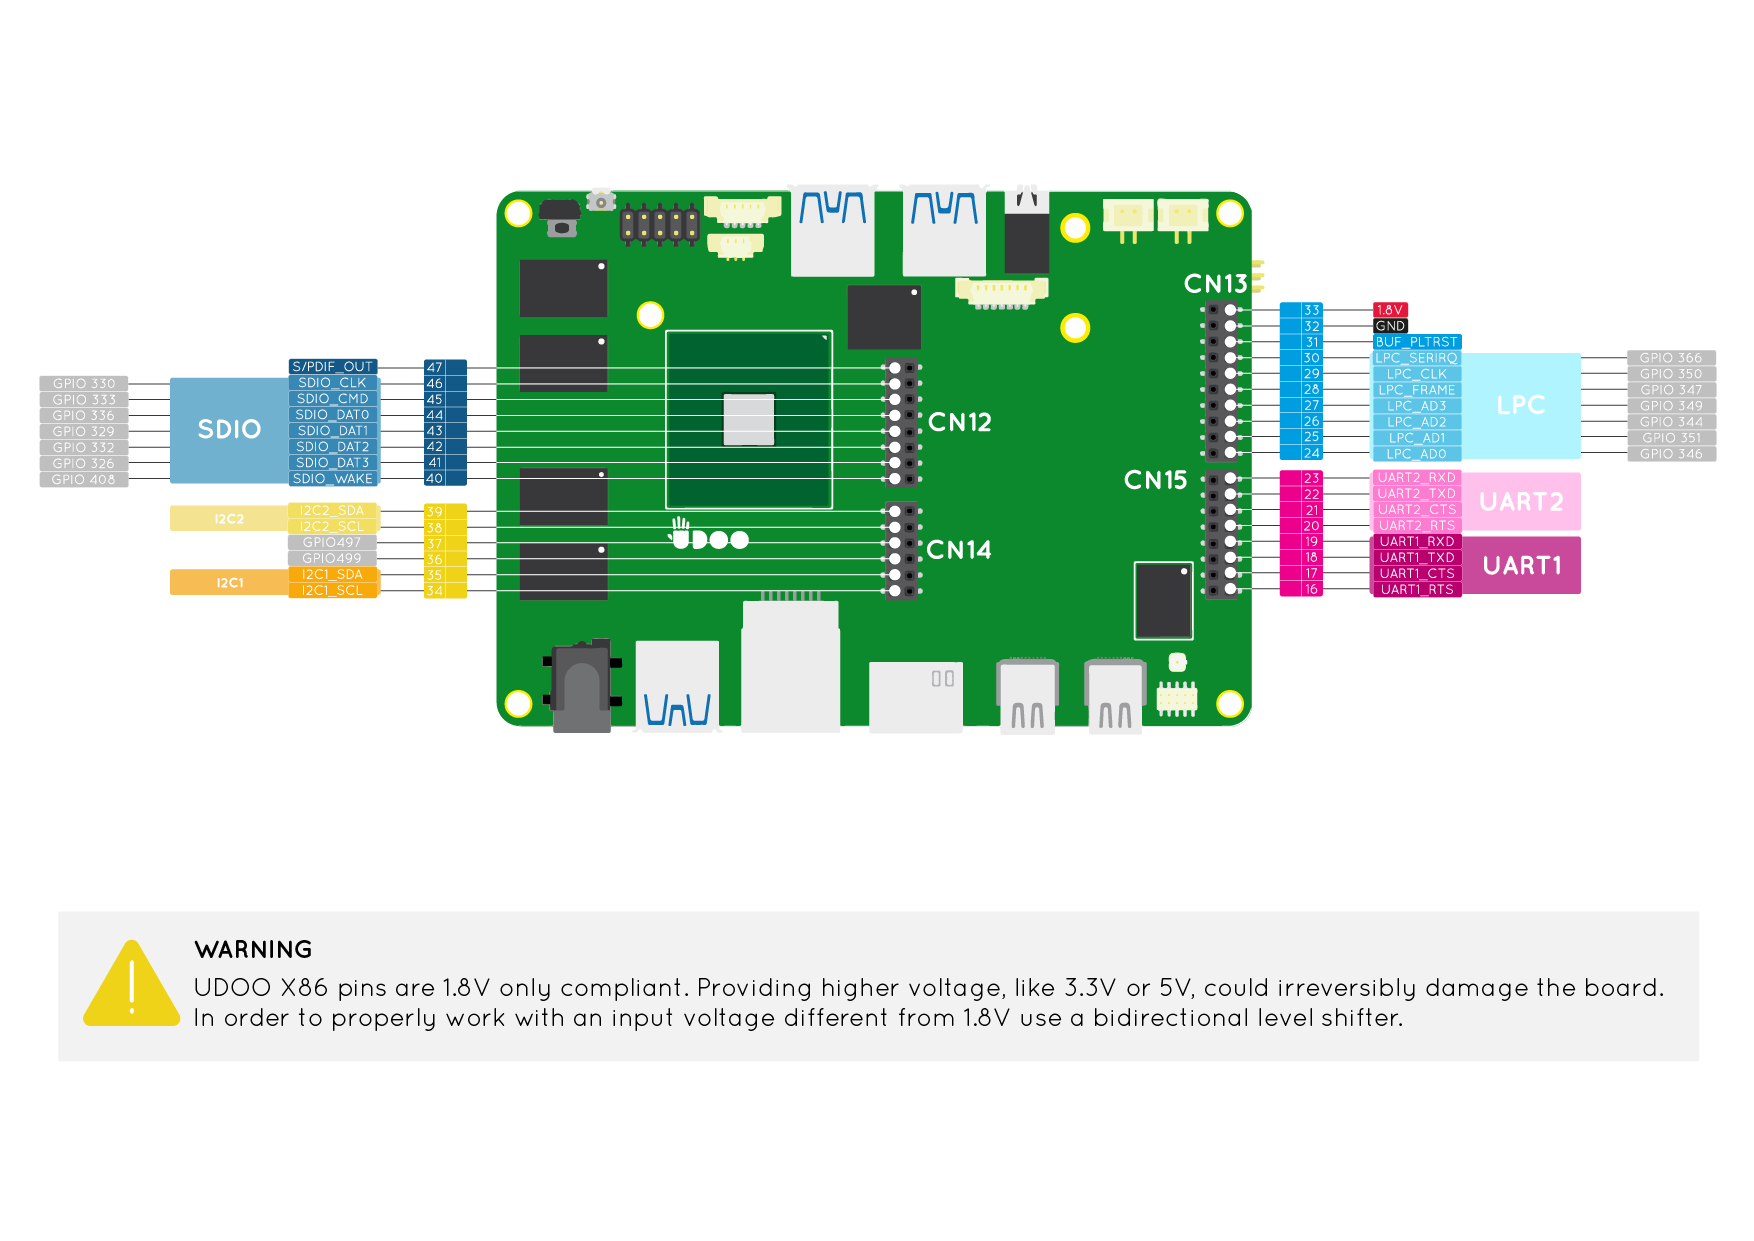
UDOO Main Processor Pinout
More details about the connectors are available here for the Arduino connectors, and here for the main processor connectors.
(Pictures used in this post are all from the UDOO website)